Difference between revisions of "Getting Started with AreaCalc for Burns"
From EHS Help
| Line 6: | Line 6: | ||
| − | [[File:Brush Button.jpg|20px]]Choose "Paint Brush" or [[File:Fill Button.jpg]]"Fill" located on the left of the app to enter detail in to the image. | + | [[File:Brush Button.jpg|20px]]Choose "Paint Brush" or [[File:Fill Button.jpg|20px]]"Fill" located on the left of the app to enter detail in to the image. |
| − | [[File:Delete Brush.jpg|20px]] Choose Delete Brush or [[File:Delete Fill Button.jpg]] Delete Fill to Delete detail. | + | [[File:Delete Brush.jpg|20px]] Choose Delete Brush or [[File:Delete Fill Button.jpg|20px]] Delete Fill to Delete detail. |
[[File:Zoom buttons.jpg|20px]] Use the zoom in, Zoom out and back to normal buttons to add finer details. | [[File:Zoom buttons.jpg|20px]] Use the zoom in, Zoom out and back to normal buttons to add finer details. | ||
Once zoomed in on the image the click the right right mouse button to pan image, alternatively and for tablet use, the [[File:Cross arrow button.jpg|20px]] will pan the image with left mouse button or finger. | Once zoomed in on the image the click the right right mouse button to pan image, alternatively and for tablet use, the [[File:Cross arrow button.jpg|20px]] will pan the image with left mouse button or finger. | ||
Revision as of 10:37, 25 May 2016
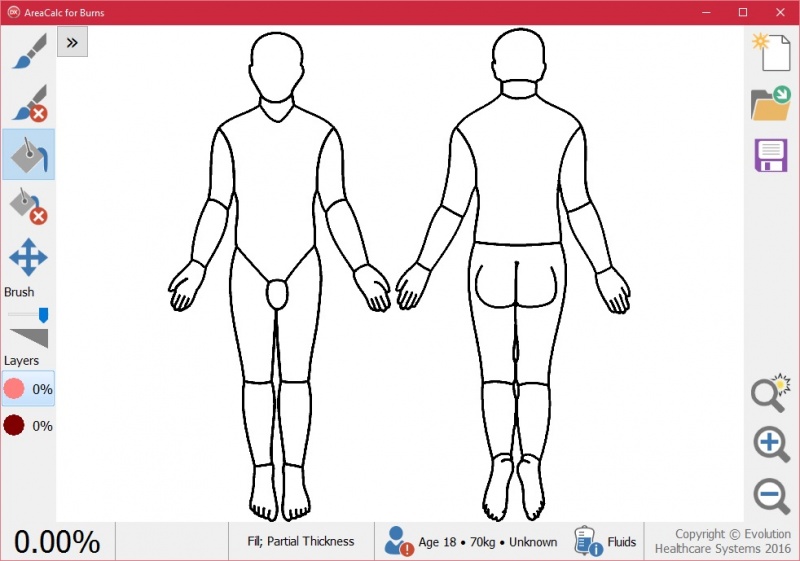
Area Calc opens with a Lund and Browder image displayed.
![]() Choose "Paint Brush" or
Choose "Paint Brush" or ![]() "Fill" located on the left of the app to enter detail in to the image.
"Fill" located on the left of the app to enter detail in to the image.
![]() Choose Delete Brush or
Choose Delete Brush or ![]() Delete Fill to Delete detail.
Delete Fill to Delete detail.
![]() Use the zoom in, Zoom out and back to normal buttons to add finer details.
Use the zoom in, Zoom out and back to normal buttons to add finer details.
Once zoomed in on the image the click the right right mouse button to pan image, alternatively and for tablet use, the ![]() will pan the image with left mouse button or finger.
will pan the image with left mouse button or finger.
